Pages

Thursday, December 30, 2010

I received my first blog award!!

I opened my emails this morning and discovered I had received my first blog award from the lovely Marsha!!


The eight things that I am to share

1.  I am a Christian - my faith is very much  part of who I am.
2. I am very happily married, and have been for nearly 37 years to a man who still thinks I am the best thing to happen to him.
3. I love my family - adult children and grandchildren, who are very dear to me.
4. I am owned by an 11 year old cat who adores me.
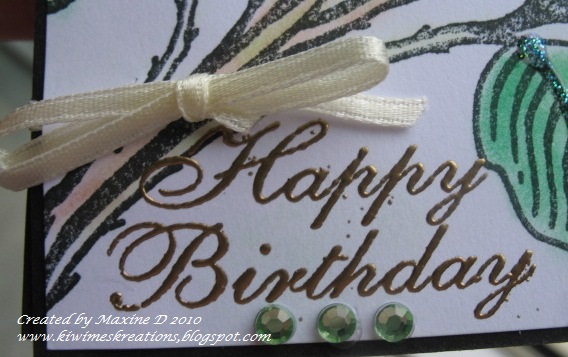
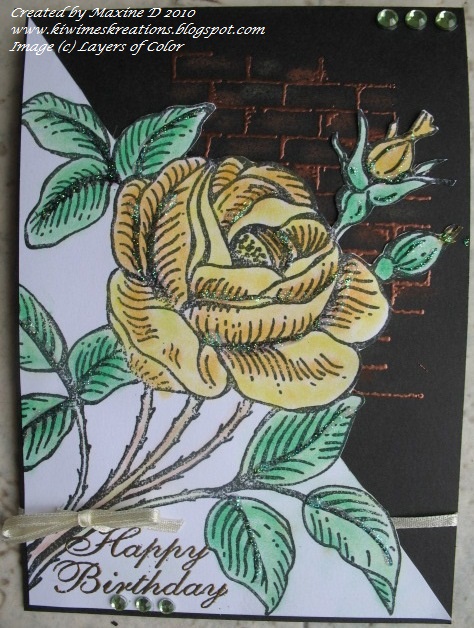
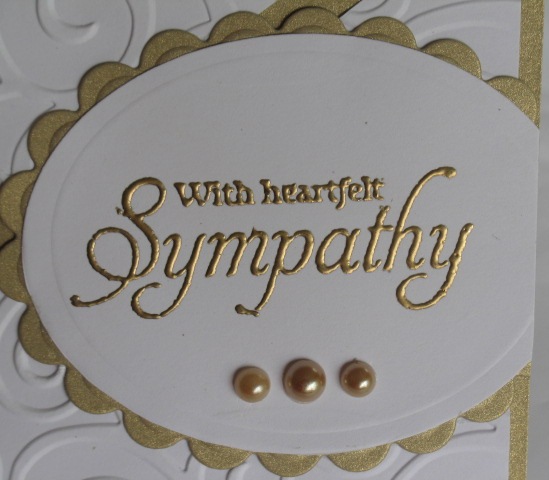
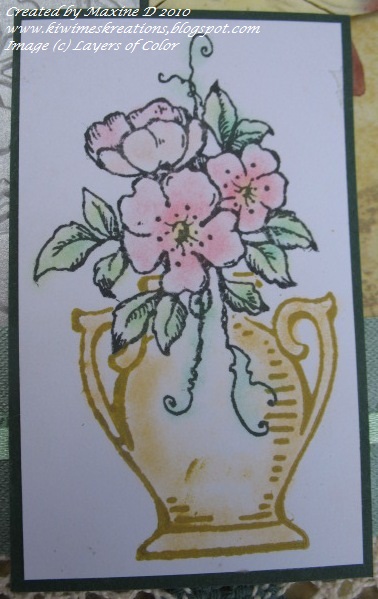
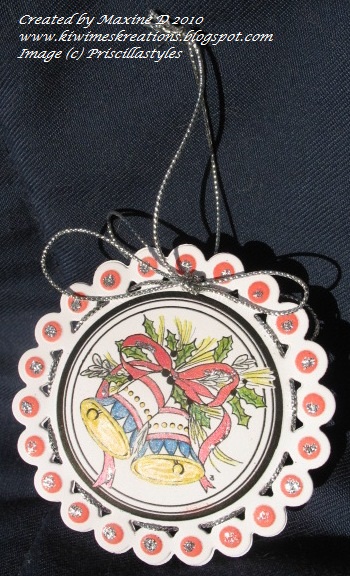
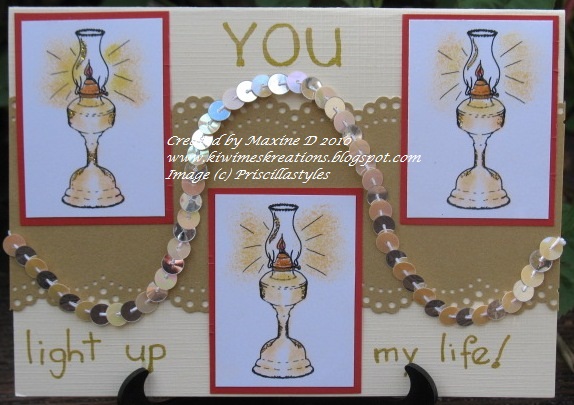
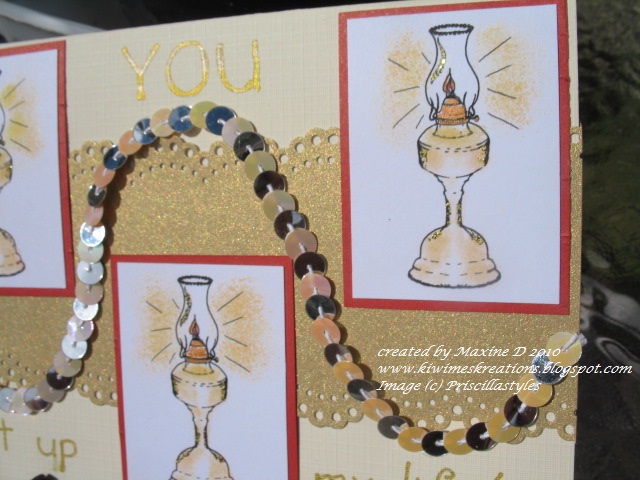
5. I have recently discovered paper crafting, specifically card making, and love it.
6. I am still a keen gardener, but it now takes a lower priority.
7. Another passion of mine is lace making.
8. I am proud to call myself a Kiwi i.e. a New Zealander.

~~~~~~~~~~~
I am sending this award to:

~~~~~~~~~~~


The rules for receiving this award are:
Thank and link back to the person who sent this to you. 
Share 8 things about yourself
Pass this award on to 8 bloggers
Contact those bloggers and tell them you sent them this award.

~~~~~~~~~~~

This award came out of the blue and I so appreciate it.
May your day be richly blessed as mine has been.


Sunday, December 26, 2010

Roses for a Birthday

Greetings to all my cyber friends - I trust you have all had a wonderful Christmas - as we have, rich with family and friends.

I made this card before we came on holiday for my dear SIL who has a birthday tomorrow.

I have had this stamp for a while now and took this opportunity to ink it up. I loved the way Nina Bracket from Crafting in Croatia used this stamp, Cottage Rose in a  pre-release design from Layers of Color.  I have discovered that although I 'cased' her card (from memory), mine turned out totally different - maybe my memory was not as accurate as I thought.

I also used the LOC brick wall stamp in the background of this card, embossing it in copper and lightly shading it with chalks.
The rose was also coloured with chalks and a wee bit if crystal Kindy Glitz added for some sparkle, and a sentiment stamped and embossed with gold.
Ribbon was added to look as though the stalks were tied together, and some rhinestones for a wee bit of bling.

The 'cased' element of the card was that part of the background of the stamp was cut away - this I did on the diagonal, and with the white on the black base gave the whole a sense of dimension.
I enjoyed making this card, and hope you have enjoyed your visit.
I am not linking this to any challenges as it is in the middle of the holiday season, and I had better not spend too much time on the computer while visiting.


Now I have returned home, I will link this to the following challenges:
Aly's Sunday Sketch # 32 - Anything Goes
Corrosive Challenge Blog #96 - Bling it on
I Did It Challenge #35 - Out with the old - In with the new
One Stitch at a Time Challenge #43 - Anything Goes
All Sorts Week 83
Crafty Emma Challenge #17 - Anything Goes
Sweet Stamping Challenge Blog - Celebrations
Totally Gorjuss Challenge #61 - Someone Special

Thank you again for visiting, and any comments you leave are treasured.

 May your day be blessed.

Tuesday, December 14, 2010

MMSC83 - Sympathy

Greetings once more to my cyber visitors.

I wanted to make a sympathy card for a neighbour, and unexpectedly had the time to do it this afternoon.

It was quite a quick card to make and I was pleased with the result.
Although the base card looks to be a light brown IRL it is gold with a delightful shimmer - not too much, just enough to be elegant.
The white layer was embossed using the Cuttlebug D'vine Swirls folder, and  then the card was split diagonally and mounted on the gold.
The sentiment was embossed in gold, cut using a Spellbinders Nestability Classic Oval large (#4) and mounted on the matching scalloped oval.
This was deliberately mounted in this "cut off" manner to match the sketch challenge at  Midnight Madness.
The finishing touches were the ribbon and pearls.

I am linking this to 
Midnight Madness Sketch Challenge #83

Thanks for visiting, and I love it when you comment - all comments are very much appreciated.
May your day be blessed.

Monday, December 13, 2010

Flowers for Ashley and MMSC#82

Greetings to you all, and once again, I want to say how much I appreciate your visiting my blog. 

May I also take this opportunity to wish you all the best for Christmas and the New Year - may you know the peace of Jesus as you prepare for the festivities, and be blessed with family and friends to celebrate with.

This card was made with a dear Aunt in mind - my late mother's sister is the last of her immediate family, and was the closest of her family to us, so she is rather special to me.  Knowing that she loves her garden was a starting point for this card.
This flower was one of a packet that I bought recently, and 'fitted' the colour scheme beautifully... I wanted to draw the eye to it, but not dominate the whole, so used the rhinestones as an accent in the centre, which is just above the main panel.

I wanted the stamped image to take centre stage, so simply embossed the silver panel using the cuttlebug folder fantastic flowers. 

 The main panel was stamped using two images from the Layers of Color set Merci Bouquet.  The flowers were stamped using Memento Tuxedo Black,  then masked and the vase was stamped with Brilliance Pearlescent Olive ink.  Both images were then coloured with chalks.
Both the small panels were mounted on dark green card, before assembling the card as a whole.  
The dp is some from a pack I bought in Australia (at KMart) some two and a half years ago.  The lace is some that I have had on hand for a wee while now and have been itching to use, so with the the sketch challenge having scallops at the base, I grabbed it with great glee :-), then had to find ribbons that 'worked' with it!
I have since heard from my aunt that she loves the card.

This is being linked to:

Thanks for calling - May your day be blessed.

Wednesday, December 8, 2010

Quick Card

Hi folks - just a quick post for what turned out to be a very quick card - it is a long time since I have had a card come together this quickly.

I printed off the image which is one from Cora at Digital Two For Tuesday.
I was inspired by a challenge to make a white card with a feature of red, but this ended up with a wee bit too much black, but that is not a problem as I wanted a masculine card.  I was also following a Midnight Madness sketch challenge (#84)

To add some interest to the black layers I embossed them with the diamond plate folder, and added just a wee bit of bling


And volia, here is my card!!


Thanks for calling by, and may you day be blessed.

Tuesday, December 7, 2010

Dragonfly Birthday - again

Greetings, and thank you for visiting this blog and reading my card-making ramblings.

I managed some more studio time yesterday, actually I had to, as I have three birthdays to acknowledge on Friday, and I had no cards made!! The first one is for one of the two male birthdays this week, and once again I went to Priscilla's dragonfly image (available here).
I coloured the image with chalks and then added a layer of Dimensional Glue which gives a wonderful sheen and curves the wings slightly.  I had printed and cut two images, and used just the wings from the second image to give dimension. 

The oval it is resting on was cut using a nestie and sponged with a turquoise  ink while still in the die. The sentiment is from Digital Design Divas and originally came in a circle form, but I altered it for the occasion.

The card design was inspired by the sketch challenge over at Our Daily Bread Designs Blog for this week.

The silver foil panel was embossed using the D'vine swirls folder, and it was mounted on green card.  The green panel (mounted on brown card) was stamped with Memento Cottage Ivy ink using the Layers of Color swirl from the Nature Walk stamp set.

The brown stripes had the edges pierced, which IRL looks makes them look like a leather strip.  I then balanced this with piercing in two corners. The final details were the Kaiser half pearls and the edges being sponged with Memento Sand ink.

This is being linked to the following challenges:

Thank you for calling - may your day be filled with many blessings.

Saturday, December 4, 2010

Gift cover

Greetings - it is so great of you to visit!
I wanted to give a friend a wee gift recently and bought a bag of chocolates - not the easiest to wrap, so I thought I would use card and 'cover' it rather than wrapping it, and this is the result!


I started by cutting a sheet of card into two long strips, trimmed them to length and stenciled them with the Layers of Color Botanical Swirls stencil.
The flowers from the Natures Walk set by the same firm were stamped on scraps of card, embossed and then coloured with chalks.

The tag was stamped and embossed, then cut with a Spellbinders Ribbon Tag
I cut and embossed it, and lightly sponged the tag while still in the die.  I then rounded the corners of one end - the sentiment is from
 Kiwi Stamping 

The ribbon was threaded through a slot I cut to match the slot on the packet,
and the greeting tied to the ribbon with silver cord.

This final look was very effective, and the recipient was most appreciative of both the cover and the chocolates.

Thanks for calling by - I appreciate your visits and your comments make my day.

I am linking this to 

Tuesday, November 23, 2010

Christmas 2010

Greetings - it is lovely to have you visit again - I do enjoy it when you call by.

This year I have got all my Christmas cards made, but not yet ready to go.. I do need to get my overseas postings done before the 29th, or I will have to pay and arm and a leg to be sure to get them delivered before Christmas...

As I make them in bulk, I tend to do an assembly line production of a reasonably simple card - well that is what I try to do - the simple part does not always work!  The initial design was fine, but then as I worked I realised I had to adapt things along the way as the basic design did need a tweek, and then I started to run out of, or run short, of some of the materials.... and here is the final result, which was  'gussied up' a wee bit  as I adapted it slightly for the 

I borrowed the Embossing Folder I used on the white panel, and do not know name of it, but it depicts Christmas Ornaments.
The stamps is from Stamps Happen Inc, and it stamps and embosses well, with all the detail being picked up.


After gold embossing, I filled in the capital letters and star with a gold pen to give some emphasis to the stamping.


This panel was mounted over a couple of gold corners - cut from small square dies from the CB Vintage Corners.


The extra that I added for the challenge was the ribbon and the stars - which did seem to liven the design slightly, but I only had that one piece of ribbon, so this is the only card to have this treatment!!

I am linking this to the following challenges:

Thanks for visiting, and be assured, I treasure your comments.
May your day be blessed.

Thursday, November 18, 2010

Blue thank you

Just a quick post today - I made this card yesterday, and quick was the operative word, and yes, I think it is quite striking, if I say so myself.

The card is required to thank a group of people, both male and female, so I did not want to make it particularly feminine.


I chose the easel technique so there is no problem displaying it - i.e. no need to hang it anywhere, and it is a wee bit 'different' as it is not a well known technique here in New Zealand.

I used the Many Thanks cuttlebug embossing folder, and loaded it with Danube Blue ink by memento before running it through the CB. 
 This done I added the ribbon to this panel before mounting it on the dark blue base  and adhering the rhinestones.

The base I completed with some silver cord and more rhinestones and an embossed 'thanks'.
All that remains now is to write in it and wrap the accompanying gift.


Thanks for visiting, and I do treasure your comments
May your day be blessed.

Tuesday, November 16, 2010

Flying Birds MMSC #80

Greetings once again from a lovely warm Antipodean Island - ahh I do love late spring!!

Once again I am featuring a card using digi images from Priscillastyles - this time the Flying Birds set, which has six images - three of the birds and three of the beaded flowers.  I used the double image of the both birds and the flowers.


The flowers were printed onto a piece of patterned vellum and gold heat embossed, which gave a lovely deep background.  This I matted onto cream card stock and then a very deep brown. 

 I put this aside and coloured the bird images with chalks and cut them out.

I was then able to match the pink with some card, and made my background panel with that, again using the dark brown to mat it onto.  I toyed with embossing it, but as the main image was so 'busy' I kept it simple.

When I did the final assembly of the card, I added some decorative strands of (?) plastic that I sourced from a local business - it is generally used for window dressing , and this business is retailing it for home, think Christmas, decorations.  The beauty of it is that it reflects the colours that it is against, so is very versatile!

I enjoyed making this card - and what I had planned happened, which is quite a change, and here is the final result, complimented by the addition of some Kaiser pearls.

I am linking this to
Basic Grey Challenge #33 - Wings (no Basic Grey product, sorry)

Thank you for calling by  - I treasure your comments.
May your day be blessed. 

Friday, November 12, 2010

Christmas Bell Ornaments

Welcome back again - thank you for visiting and I hope you enjoy this post.

I recently received some images of Christmas Bells  from Priscillastyles, and decided to break out and make some ornaments rather than a card with them

.

I printed the images twice each and coloured them. There is a lot of sparkle and shine in the end results - unfortunately the camera does not always pick up the glitter and sheen. The glitter on this image shows as 'sand', there are red stickles on the berries and ribbon, and gold kindy glitz on the bells.

The coloured image was then cut using a Spellbinders lacey circle die.

The 'thread' that has sewed the two sides together is a red metallic covered thin cord, and adds to the whole beautifully.

To give the ornaments some dimension I put two layers of felt between the layers - this worked beautifully as it was not too thick, but kept them from being flat and uninteresting.

In the second image the bells are surrounded by a circle, and I decided to cut it out using the Spellbinders dotted circle die
.

The image was painted with Twinkling H2Os, and again the camera has not picked up the sheen.  I have a very fine silver glitter which was glued onto parts of the image and the centre of the dots - I used my glue pen which nearly died of shock, as it has languished in the bottom of a container for years!!

To join the two images I again stitched them, this time with a very fine silver cord.  I tied a bow at the top of both sides, and then finished it with a loop.


  These are now hanging in my lounge, and I am not sure if they will join my stash of Christmas decorations or be given as gifts.....


I am linking this to the following challenges:
Ai factory Challenge #56 - Dies or punches
Cute Card Thursday#138 - Anything goes
Delightful Cards - Glitter it up
Sassy Studios Sassy Thursday Challenge - anything goes
Flourishes Timeless Tuesdays challenge - Glitter

Thank you for calling by, and the comments you leave are treasured.

May your day be blessed.

Wednesday, November 10, 2010

Let there be Light

Greetings - it is good to be here again and to have you visit.  Life has been a little fraught of late, so my apologies for being MIA.


DH is going through a bit of a rough time at the moment, so I thought I would make him a card to cheer him up, and my starting point was the Midnight Madness Sketch Challenge # 79, and this is the result.
I love this image available from Priscilla Styles and it so lent itself to this challenge - well I thought it did!!


The image was printed three times and coloured using chalks, ink and gold kindy glitz, although I don't seem to have been able to capture the sparkle it gives IRL.


The gold dp in the background was punched on either side with a Martha Stewart punch, and the sequins draped around the panels and secured with glue dots.  The sentiment I hand printed with a lovely gold pen I have. (I think the brand is Signo).


I was pleased with the card, and DH was happy to receive it.


I am linking this to these challenges:
Thank you for calling by - May your day be blessed

Wednesday, November 3, 2010

Sparkles and a butterfly

Greetings - yes I have been on a roll and here is another card.  I used the sketch for the Midnight Madness Challenge #78 again I liked it so much.  This time I used one of the Priscilla Styles Butterfly stamps


The pink layer was textured with the embossing folder 
Budding Vine - the folder was slightly short, so I pierced the ends of both sheets to add a focal point, distressed and sponged the edges with Pearlescent Orchid ink.
  The iridescent plastic sheet behind this is the remains of what sequins are punched from. 

The butterfly was coloured using Twinkling H20's, and highlighted with Stickles  Kindy Glitz and Dimensional Glue, then cut using a Nestabilities classic oval, and sponged with the same ink I used on the pink paper.  This was then mounted on the purple base and Stickles added for some more sparkle.

The flowers were a totally unexpected RAK from my neighbour, and worked wonderfully well on this card.  The leaves I cut and crimped and sponged with Adirondack Bottle ink.  The same ink was used to sponge the edge of the tag and stamp the greeting, a Hero Arts Stamp.
I am linking this to 
Digital Tuesday Challenge #83 - I've been framed

Thanks for calling by - I really enjoy the fact I can share my art on this forum and hope that you enjoy seeing my efforts.


May you day be blessed.

Tuesday, November 2, 2010

MSSC#78 - Christmas Tree Lane

Greetings from an increasingly warm New Zealand. 


Yay for summer heading our way :-) - for all that I have managed quite a lot of time in the studio, and lots of cards completed.  Oh, and some time in the garden too.


This card was one that fought me all the way - the colours changed several times, the texture on the stripe likewise, and the image I had to print twice because I made a major mistake in the colouring etc, etc..... enough said!!  But I am pleased with the end result.


The image is from Priscillastyles Store and is the Christmas Tree set, which you can buy four images for $US 3.00

The red background (which has a very fine gold sparkle in the card) was textured using the Cuttlebug Branches embossing folder, the ovals cut using Nestabilites Classic Ovals die and Classic Scalloped Oval die.

 A gold pen was run around the inside of the die, and the blue ink sponged around the trees before the die was removed. 

The image (Christmas Tree Lane) was then painted with Twinkling H2O's, and had Kindy Glitz added for some sparkle. Kindy Glitz was also added to the scallops on the outer oval. 


The lace was layered over some gold card - it is very old lace from my late Mother-in-Law's stash -  then I added a couple of gold punched Christmas trees for a final detail.

This card is being entered in the:
Thank you for visiting, and I treasure any comments you leave - they really make my day.


Sunday, October 31, 2010

Flower Power

Hello and thank you for calling by to visit again.


I needed a card for and eight year old girl, and decided to use this lovely image that Cora from Digital Two for Tuesday put on her site some time ago.


I coloured this with chalks, using the blender pen in some areas, and added some 'jewels' - what self respecting girl dressing to go out would be without them! 

The image was then layered onto coloured cardstock, and mounted onto the base.  Then came the question of an additional embellishment and trying to find the right coloured ribbon was almost impossible, so I went with this irrediscent ribbon and made a double bow.  The sheen and glimmer on this echoed the jewels perfectly, and to finish it I added a jewel to the centre of the bow.

The green base is quite a harsh colour, so to soften it I sponged a mid-green around the edge, which really gave the whole a very 'finished' look that I was pleased with.


I am linking this to the following challenges:

Thanks so much for calling by, and do feel free to comment - I love seeing that you have visited and and reading your notes.

May your day be blessed.