Pages

Tuesday, November 23, 2010

Christmas 2010

Greetings - it is lovely to have you visit again - I do enjoy it when you call by.

This year I have got all my Christmas cards made, but not yet ready to go.. I do need to get my overseas postings done before the 29th, or I will have to pay and arm and a leg to be sure to get them delivered before Christmas...

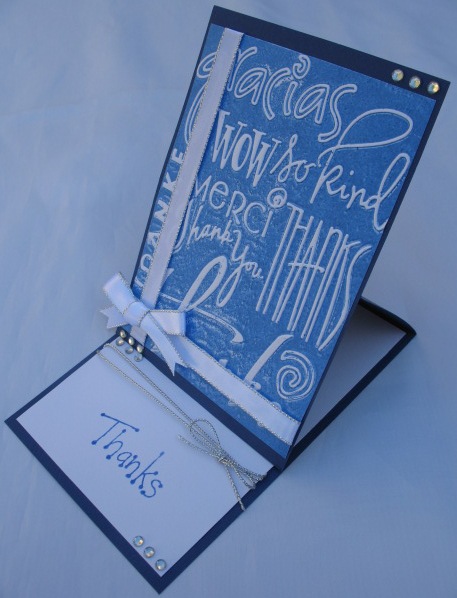
As I make them in bulk, I tend to do an assembly line production of a reasonably simple card - well that is what I try to do - the simple part does not always work!  The initial design was fine, but then as I worked I realised I had to adapt things along the way as the basic design did need a tweek, and then I started to run out of, or run short, of some of the materials.... and here is the final result, which was  'gussied up' a wee bit  as I adapted it slightly for the 

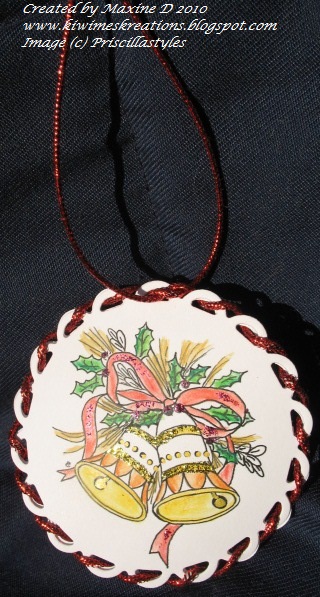
I borrowed the Embossing Folder I used on the white panel, and do not know name of it, but it depicts Christmas Ornaments.
The stamps is from Stamps Happen Inc, and it stamps and embosses well, with all the detail being picked up.


After gold embossing, I filled in the capital letters and star with a gold pen to give some emphasis to the stamping.


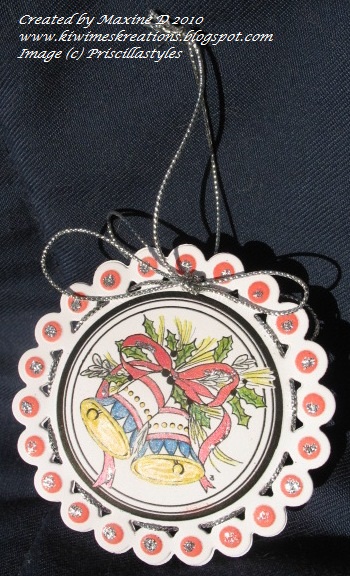
This panel was mounted over a couple of gold corners - cut from small square dies from the CB Vintage Corners.


The extra that I added for the challenge was the ribbon and the stars - which did seem to liven the design slightly, but I only had that one piece of ribbon, so this is the only card to have this treatment!!

I am linking this to the following challenges:

Thanks for visiting, and be assured, I treasure your comments.
May your day be blessed.

Thursday, November 18, 2010

Blue thank you

Just a quick post today - I made this card yesterday, and quick was the operative word, and yes, I think it is quite striking, if I say so myself.

The card is required to thank a group of people, both male and female, so I did not want to make it particularly feminine.


I chose the easel technique so there is no problem displaying it - i.e. no need to hang it anywhere, and it is a wee bit 'different' as it is not a well known technique here in New Zealand.

I used the Many Thanks cuttlebug embossing folder, and loaded it with Danube Blue ink by memento before running it through the CB. 
 This done I added the ribbon to this panel before mounting it on the dark blue base  and adhering the rhinestones.

The base I completed with some silver cord and more rhinestones and an embossed 'thanks'.
All that remains now is to write in it and wrap the accompanying gift.


Thanks for visiting, and I do treasure your comments
May your day be blessed.

Tuesday, November 16, 2010

Flying Birds MMSC #80

Greetings once again from a lovely warm Antipodean Island - ahh I do love late spring!!

Once again I am featuring a card using digi images from Priscillastyles - this time the Flying Birds set, which has six images - three of the birds and three of the beaded flowers.  I used the double image of the both birds and the flowers.


The flowers were printed onto a piece of patterned vellum and gold heat embossed, which gave a lovely deep background.  This I matted onto cream card stock and then a very deep brown. 

 I put this aside and coloured the bird images with chalks and cut them out.

I was then able to match the pink with some card, and made my background panel with that, again using the dark brown to mat it onto.  I toyed with embossing it, but as the main image was so 'busy' I kept it simple.

When I did the final assembly of the card, I added some decorative strands of (?) plastic that I sourced from a local business - it is generally used for window dressing , and this business is retailing it for home, think Christmas, decorations.  The beauty of it is that it reflects the colours that it is against, so is very versatile!

I enjoyed making this card - and what I had planned happened, which is quite a change, and here is the final result, complimented by the addition of some Kaiser pearls.

I am linking this to
Basic Grey Challenge #33 - Wings (no Basic Grey product, sorry)

Thank you for calling by  - I treasure your comments.
May your day be blessed. 

Friday, November 12, 2010

Christmas Bell Ornaments

Welcome back again - thank you for visiting and I hope you enjoy this post.

I recently received some images of Christmas Bells  from Priscillastyles, and decided to break out and make some ornaments rather than a card with them

.

I printed the images twice each and coloured them. There is a lot of sparkle and shine in the end results - unfortunately the camera does not always pick up the glitter and sheen. The glitter on this image shows as 'sand', there are red stickles on the berries and ribbon, and gold kindy glitz on the bells.

The coloured image was then cut using a Spellbinders lacey circle die.

The 'thread' that has sewed the two sides together is a red metallic covered thin cord, and adds to the whole beautifully.

To give the ornaments some dimension I put two layers of felt between the layers - this worked beautifully as it was not too thick, but kept them from being flat and uninteresting.

In the second image the bells are surrounded by a circle, and I decided to cut it out using the Spellbinders dotted circle die
.

The image was painted with Twinkling H2Os, and again the camera has not picked up the sheen.  I have a very fine silver glitter which was glued onto parts of the image and the centre of the dots - I used my glue pen which nearly died of shock, as it has languished in the bottom of a container for years!!

To join the two images I again stitched them, this time with a very fine silver cord.  I tied a bow at the top of both sides, and then finished it with a loop.


  These are now hanging in my lounge, and I am not sure if they will join my stash of Christmas decorations or be given as gifts.....


I am linking this to the following challenges:
Ai factory Challenge #56 - Dies or punches
Cute Card Thursday#138 - Anything goes
Delightful Cards - Glitter it up
Sassy Studios Sassy Thursday Challenge - anything goes
Flourishes Timeless Tuesdays challenge - Glitter

Thank you for calling by, and the comments you leave are treasured.

May your day be blessed.

Wednesday, November 10, 2010

Let there be Light

Greetings - it is good to be here again and to have you visit.  Life has been a little fraught of late, so my apologies for being MIA.


DH is going through a bit of a rough time at the moment, so I thought I would make him a card to cheer him up, and my starting point was the Midnight Madness Sketch Challenge # 79, and this is the result.
I love this image available from Priscilla Styles and it so lent itself to this challenge - well I thought it did!!


The image was printed three times and coloured using chalks, ink and gold kindy glitz, although I don't seem to have been able to capture the sparkle it gives IRL.


The gold dp in the background was punched on either side with a Martha Stewart punch, and the sequins draped around the panels and secured with glue dots.  The sentiment I hand printed with a lovely gold pen I have. (I think the brand is Signo).


I was pleased with the card, and DH was happy to receive it.


I am linking this to these challenges:
Thank you for calling by - May your day be blessed

Wednesday, November 3, 2010

Sparkles and a butterfly

Greetings - yes I have been on a roll and here is another card.  I used the sketch for the Midnight Madness Challenge #78 again I liked it so much.  This time I used one of the Priscilla Styles Butterfly stamps


The pink layer was textured with the embossing folder 
Budding Vine - the folder was slightly short, so I pierced the ends of both sheets to add a focal point, distressed and sponged the edges with Pearlescent Orchid ink.
  The iridescent plastic sheet behind this is the remains of what sequins are punched from. 

The butterfly was coloured using Twinkling H20's, and highlighted with Stickles  Kindy Glitz and Dimensional Glue, then cut using a Nestabilities classic oval, and sponged with the same ink I used on the pink paper.  This was then mounted on the purple base and Stickles added for some more sparkle.

The flowers were a totally unexpected RAK from my neighbour, and worked wonderfully well on this card.  The leaves I cut and crimped and sponged with Adirondack Bottle ink.  The same ink was used to sponge the edge of the tag and stamp the greeting, a Hero Arts Stamp.
I am linking this to 
Digital Tuesday Challenge #83 - I've been framed

Thanks for calling by - I really enjoy the fact I can share my art on this forum and hope that you enjoy seeing my efforts.


May you day be blessed.

Tuesday, November 2, 2010

MSSC#78 - Christmas Tree Lane

Greetings from an increasingly warm New Zealand. 


Yay for summer heading our way :-) - for all that I have managed quite a lot of time in the studio, and lots of cards completed.  Oh, and some time in the garden too.


This card was one that fought me all the way - the colours changed several times, the texture on the stripe likewise, and the image I had to print twice because I made a major mistake in the colouring etc, etc..... enough said!!  But I am pleased with the end result.


The image is from Priscillastyles Store and is the Christmas Tree set, which you can buy four images for $US 3.00

The red background (which has a very fine gold sparkle in the card) was textured using the Cuttlebug Branches embossing folder, the ovals cut using Nestabilites Classic Ovals die and Classic Scalloped Oval die.

 A gold pen was run around the inside of the die, and the blue ink sponged around the trees before the die was removed. 

The image (Christmas Tree Lane) was then painted with Twinkling H2O's, and had Kindy Glitz added for some sparkle. Kindy Glitz was also added to the scallops on the outer oval. 


The lace was layered over some gold card - it is very old lace from my late Mother-in-Law's stash -  then I added a couple of gold punched Christmas trees for a final detail.

This card is being entered in the:
Thank you for visiting, and I treasure any comments you leave - they really make my day.