Pages

Monday, February 29, 2016

Congratulation Cats

Welcome

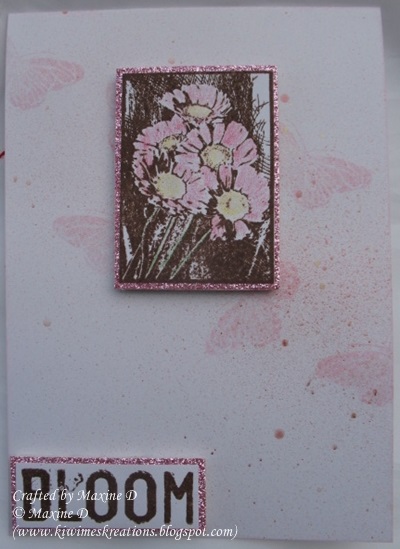
I spent some time recently playing with water colour crayons in water colour paper, and ended up with a rather bright sheet of paper....


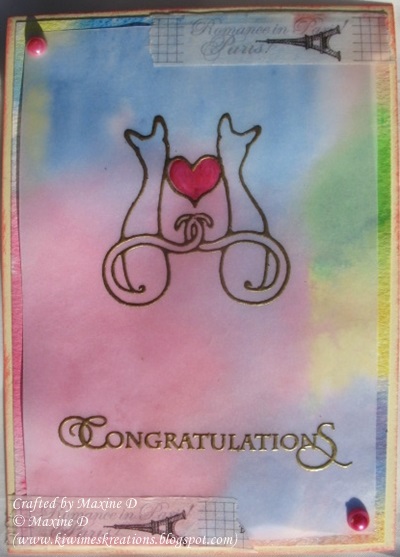
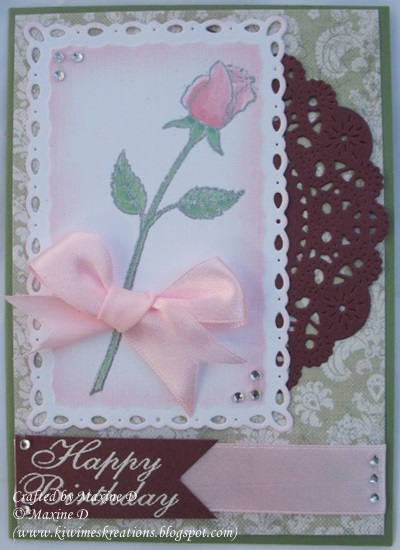
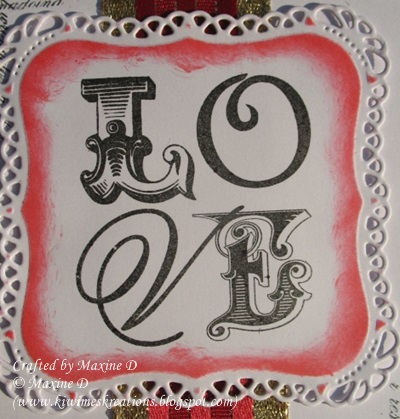
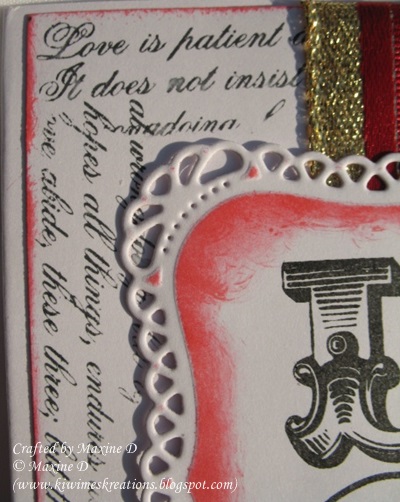
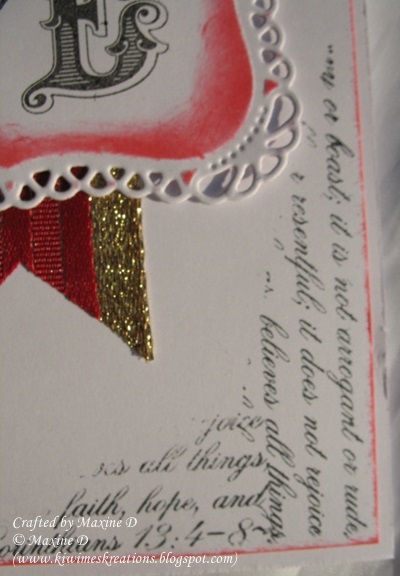
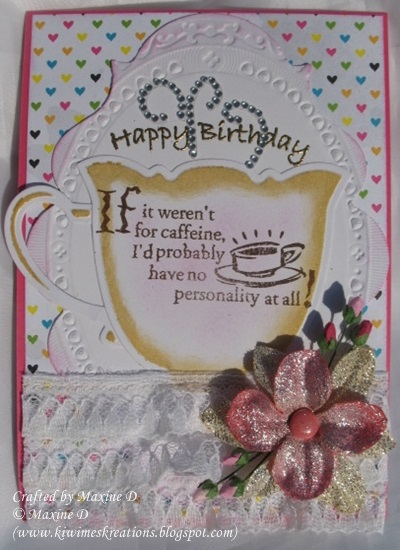
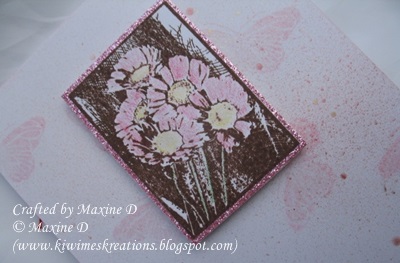
I went to use it here and decided that it really was rather garish, so toned it down with some plain vellum.


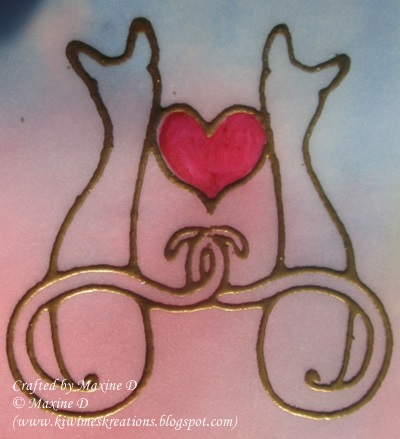
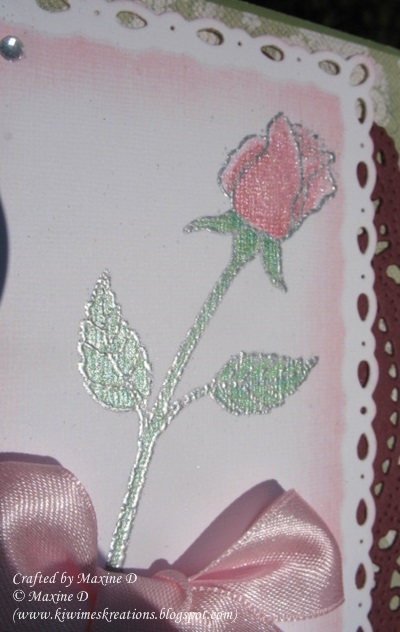
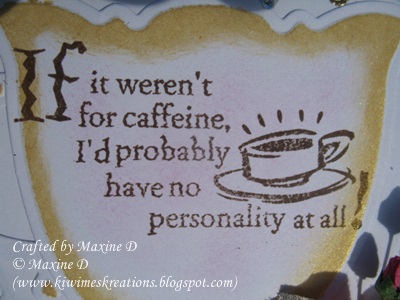
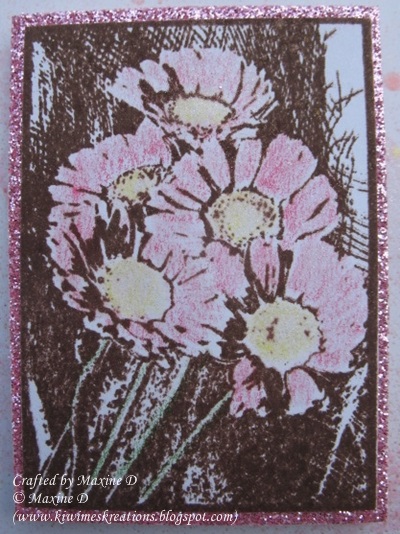
The cats were stamped and gold embossed, and the heart painted with twinkling H2O's.  The stamp is so old I have no idea what brand it is - it has worn off.


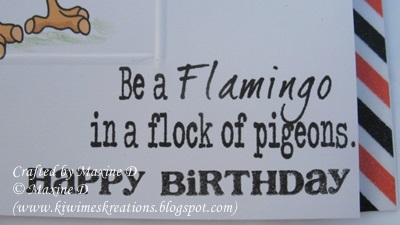
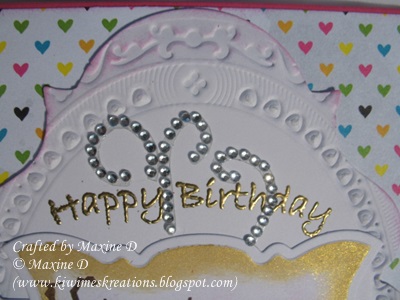
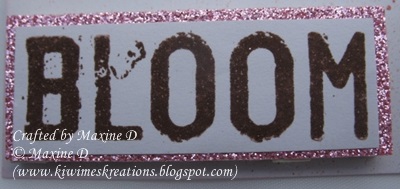
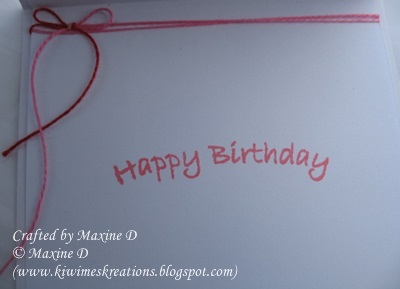
 Likewise the sentiment (retired Layers of Color)  was gold embossed.


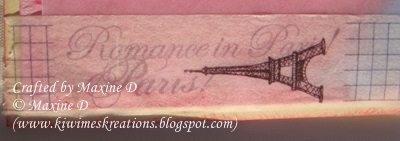
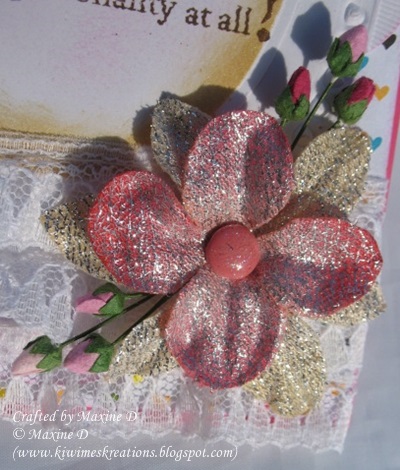
The final details were some flat backed pearls and some washi tape, trimmed to show the show the tower and words only.

I am linking this to:

Thank you for visiting - may your day be blessed
Any comments you may leave are deeply appreciated
All comments are moderated and spam deleted

Friday, February 26, 2016

Elegant Rose

Welcome

I don't often use pink and green together, never mind adding maroon, 
but somehow it all worked for this card.
The patterned paper is from the Trim Crafts Botanical notes stack.


The focal point is this beautiful rose from Kiwistamping - one of my original stamps, which was coloured with water colours,


And liberally coated with Wink of Stella after being cut out with a S/B Elegant Rectangle die and sponged with Spun Sugar D.I.


I added a bow of satin ribbon,


Cheery Lynn French Pastry die cut doily,


and a banner shaped sentiment panel, with the greeting white embossed,
 over a pink adhesive ribbon.  
The final details were some clear rhinestones.

I am linking this to:
(Spellbinders and Cheery Lynn Dies)

Thank you for visiting my blog - may your day be blessed
Any comments you may leave are deeply appreciated
All comments are moderated and spam deleted


Wednesday, February 24, 2016

Dare to be Different

Welcome

I don't usually use digital images on my cards, but I won this from Beccy's Place, and could not resist using it.


I used my Prismacolor pencils to add some shading and highlights to him, and some grass under him. 
I then framed him with a scored line.


The sentiment that prints with him does not include the birthday sentiment - that was stamped later.


The card looked rather plain with just a sentiment, so I trimmed the front panel and added the bold washi tape on the edge of the inside.

A CAS card that makes me smile.

I am linking this to:
(Stash Item - the Washi tape, first  time I have used this one)

Thank you for visiting my blog - May your day be blessed
Any comments you may leave are deeply appreciated
All comments are moderated and spam deleted

Tuesday, February 23, 2016

De-bossed Daisies for Baby

Welcome

This is what I would call a rescue card.
The background started off as a patterned paper that was embossed and then inked - the result was less than pleasing!!


I went to biff it, turned it over, and the pink ink was showing through the de-bossed side.  Perfect!! The only addition was some clear Kindy Glitz to some of the centres.


The focal point is a freebie from Bird's Cards, I painted the words with Inka Gold Gold paint, and coloured the pram/stroller with Prismacolor Pencils.  I was able to die cut the image with a circle die - not a deliberate sizing, but I was very glad it worked perfectly!


Added more clear Kindy Glitz to the dots, 


and mounted it onto the debossed paper, added a lush pink organza ribbon, and then onto the pink base.  
I loved the finished card, despite the rather shaky start.

I am linking this to:

Thank you for visiting - May your day be blessed
Any comments you may leave are deeply appreciated
All comments are moderated and spam deleted.

Friday, February 19, 2016

All You Need is Love.....

Welcome

My apologies if you now have that Beatles song running around your head :-)

I was asked to make some Engagement and Wedding cards for the shop I sell my cards in, and this card does double duty!!  


I have stamped this using elements from the Love Chapter set of stamps now sold  by Penny Black (My set is an original, first designed and sold by Layers of Color)


I stamped the main element then cut it with a (S/B)  Decorative Labels 1 die, and sponged it with Barn Door DI.


I then took the long stamp in the set and just inked part of it, and stamped two of the corners of the main panel with it.


When assembling the card I layered the focal panel over a piece of ribbon using foam dots for some dimension, then onto the next layer. That panel then had the edges sponged with the DI before it was  layered over the card base.

I am linking this to:

Thank you for visiting my blog - may your day be blessed
Any comments you may leave are deeply appreciated
All comments are moderated and spam deleted.

Tuesday, February 16, 2016

Gold and White on White

Welcome

This card was a commissioned one, and I was inspired a challenge (that I did not enter in the end) of white on white, with just a touch of accent colour.


I embossed the background layer with a sizzex folder, and touched the edges on the surface of a gold delicata ink pad.


I then stamped and embossed the verse in gold, cut it out using a s/b lacy circle die, and sponged the inside edge before removing the die, and then the edge of the die cut itself with the same ink.
  

The birthday sentiment was embossed onto a snippet of paper, which was then trimmed to a tag shape before swiping the edges with gold, and attaching it to the main panel with a wee thread of gold.

The only other addition to the card once it was assembled was some white pearls.

I am linking this to:

Thank you for visiting my blog - may your day be blessed.
Any comments you may leave are deeply appreciated.
All comments are moderated and spam deleted.

Friday, February 12, 2016

My Only Valentines Card

Welcome

Here in the Antipodes we do not have the emphasis on Valentines that other parts of the world do, so I only make one card - for my dear husband.


I also 'taught' this one at card class this month.
I started by masking the card and sponging the circle in Barn Door DI.


The heart was a Marianne Die which I cut and embossed, then added the one rhinestone after mounting it on foam dots.


The sentiment was stamped using a now discontinued stamp from Layers of Color, and the strip of stripped washi tape finished the card.

I am linking this to:
Three stripes, three words, three layers on the feature, ink, die cut and rhinestone.


Thank you for visiting my blog - may your day be blessed.
Any comments you may leave are deeply appreciated.
All comments are moderated and spam deleted.


Wednesday, February 10, 2016

Die cuts, Lace, Flowers and Coffee.

Welcome

I have had this post started for days, but life has thrown me a few curved balls and I have not been able to get back to it, so here's hoping I can get it finished now.


I made this card for a friend who loves lace, die cuts, texture, flowers and coffee!!  I could not resist this stamp which is branded "Anita".  It is one I 'inherited' from my daughter, who now does not do any stamping.


The cup is a s/b die, and after cutting and embossing it, I sponged it with Delicata Gold ink, and a wee smudge of pink in the centre.


The lace on the front of the card is a scrap my SIL gave me, and the flowers I have had in my stach for ages.... sorry, no brand names available.


The background die is a Labels 20, and the embossing and debossing was done using the Enhancing Elements Gold Ovals One.  The patterned paper is by Amy Tangerine, Ready Set Go . 


The inside was finished with another piece of lace with some variegated thread along the top with  a bow.

I am linking this to:

Thank you for visiting my blog - may your day be blessed.
Any comments left are deeply appreciated.
All comments are moderated and spam deleted.

Friday, February 5, 2016

Bloom

Welcome

I dug into my NBUS tray for this card - and found the wonderful set from STAMPlorations called Hope Blooms.  


I started by spraying across the white cardstock with gold and really red perfect pearls.  This did not show up that well so I then stamped some butterflies in Spun Sugar DI, following the angle of the spray.


I stamped one of the images from the set in Espresso ink on a snippet, and coloured it lightly with prismacolor pencils, and then layered it on some pink glitter card.


I repeated that process with the word bloom.


Both panels were mounted using foam tape. Above you can see the butterflies and spray behind the floral panel.


Both the butterflies and the floral panel were then painted with clear WoS.


The final details were to sponge the edges of the card with the Spun Sugar DI, and add a birthday greeting and this bow to the inside.


I am linking this to:


Thank you for visiting my blog - may your day be blessed
Any comments you may leave are deeply appreciated
All comments are moderated and spam deleted.

Tuesday, February 2, 2016

Sketch'ed Anniversary

Welcome

I made this card a week or so ago using a sketch challenge, but then could not blog it as one of the recipients  reads my blog, and would know who it was intended for....


I flipped the sketch horizontally, and started with the three yellow squares - they looked harsh initially, so I embossed them and inked the edges...


The heart was an adaptation of the sketch, and after die cutting it I painted it with Inka Gold gold paint.  The background layer was my addition, and was a snippet I came across whilst fossicking in a box of die cuts.... it just seemed to fit on the card. Although it does not show, it is a slightly sparkly bronze colour.


The sentiment was gold embossed, and after cutting it out,  the embossed edge was painted too.
The final addition were the green rhinestones, which arrived in some blog candy from Barb.

I am linking this to:

Thank you for visiting my blog - may your day be blessed.
Any comments you may leave are deeply appreciated.
All comments are moderated and spam deleted.