Pages

Friday, July 29, 2016

Inka Gold and Gears

Welcome

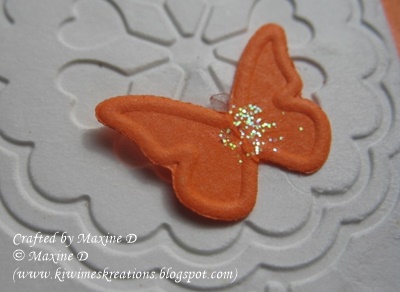
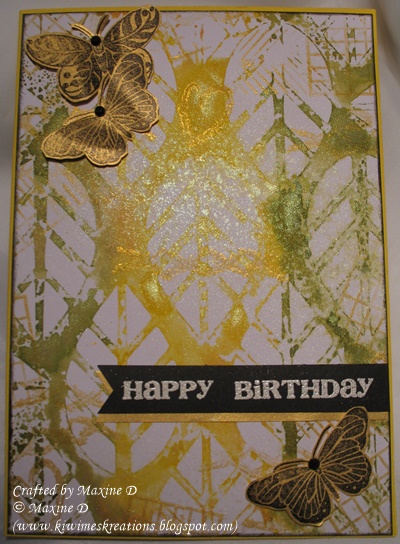
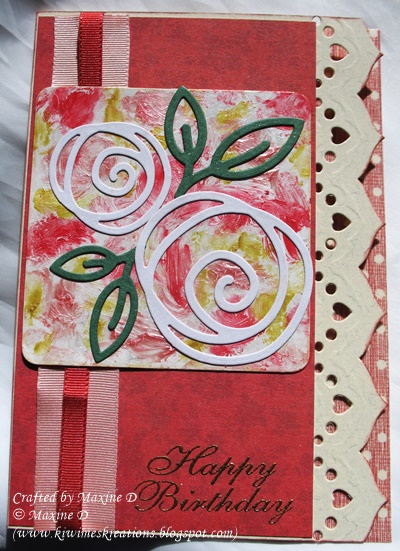
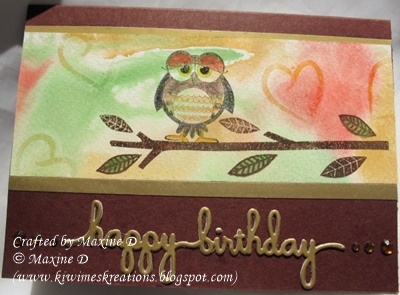
This is one of those cards that ended up totally different to what I had envisioned - and actually quite quick to make.


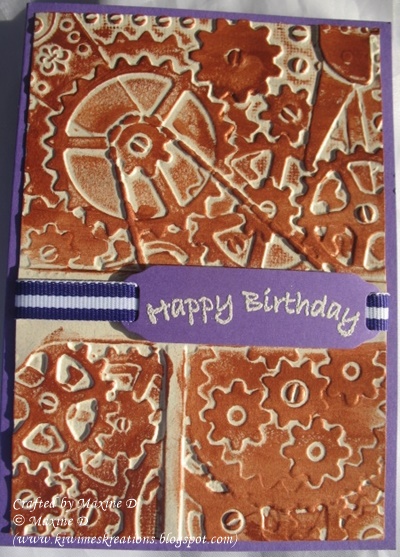
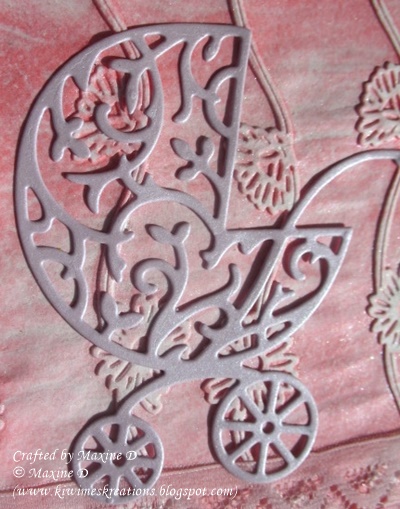
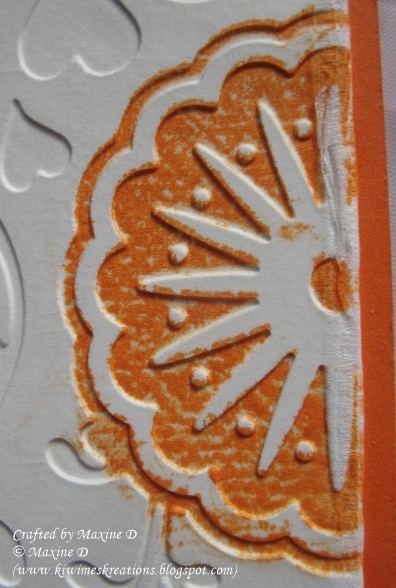
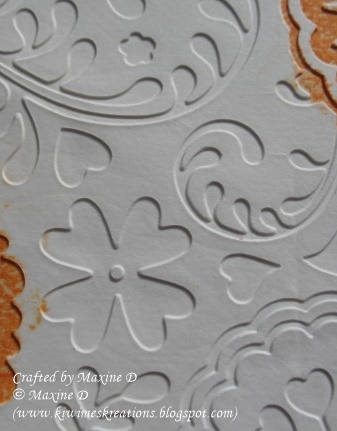
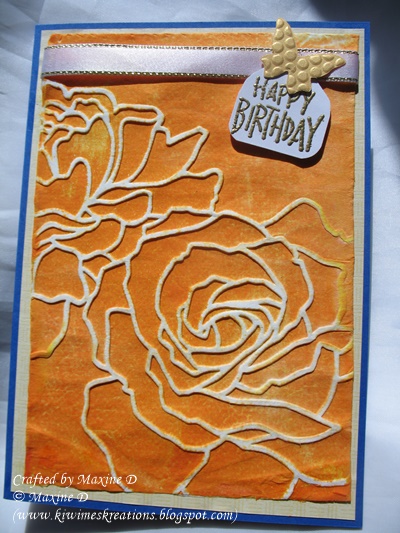
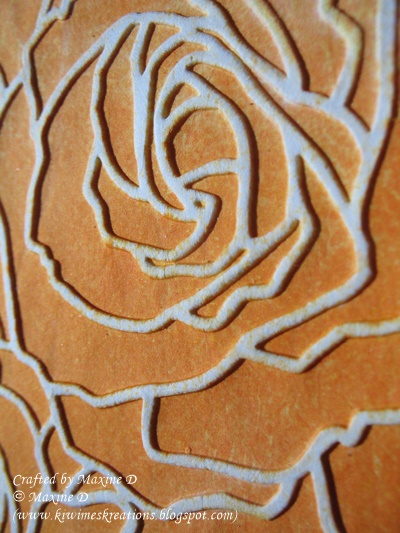
I embossed a layer of cream card with an S.B. Em-Bossing folder that seems to be now unavailable.


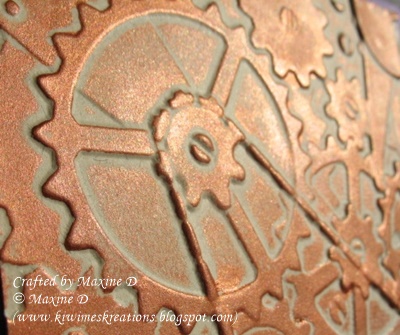
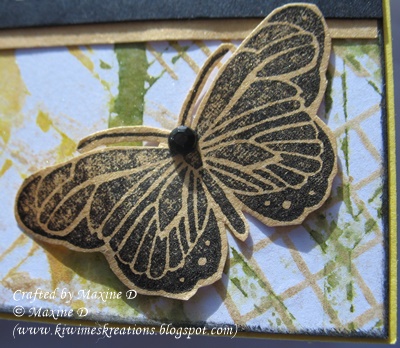
I then picked up my bronze Inka Gold paste - it had gone a bit dry, despite retaining the paper layer under the lid.  I did not despair as I have painted with this, using a wet paintbrush to pick up the paint, so I put a couple of drops of water on the paste and then rubbed some onto my finger tip and then over the embossing - you can see in the photo above the wonderful sheen it gives


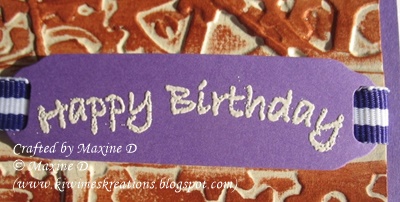
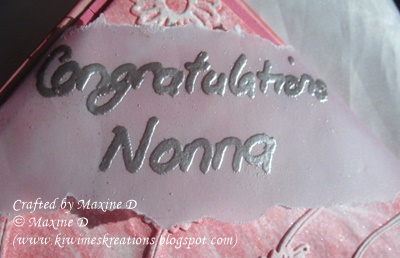
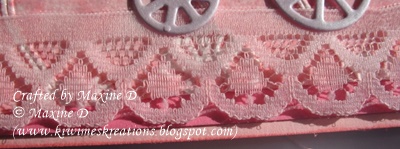
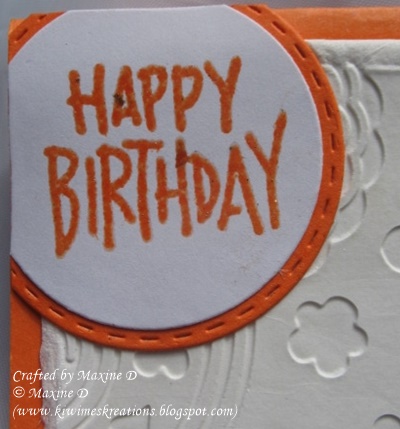
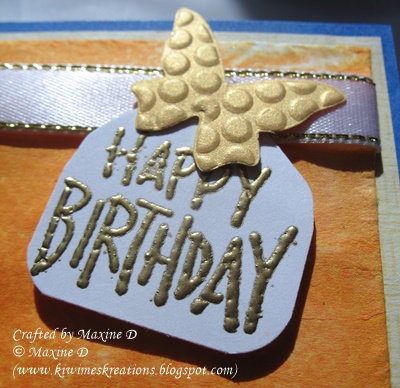
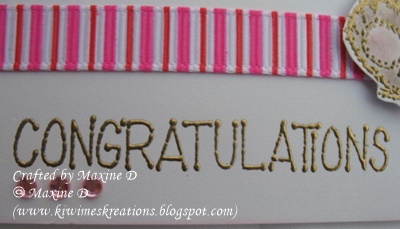
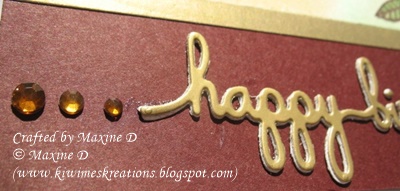
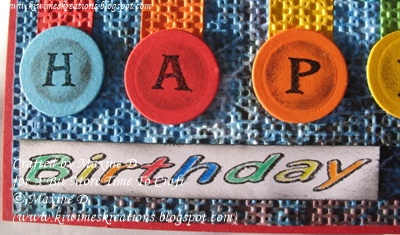
To finish I stamped and white embossed the sentiment onto a SB labels diecut, layered it onto a striped ribbon and assembled the card.

I am linking this to:


Thank you so much for visiting my blog - may your day be blessed
Any comments you may leave are deeply appreciated
All comments are moderated and spam deleted.

Wednesday, July 27, 2016

Baby Carriage and TP - Again

Welcome

Yes, another toilet paper background... I had to buy four rolls of the cheapest paper I could find, but I promise not to use it all on cards.


This time I used Worn Lipstick DI on the embossing folder (one from a magazine) and discovered after I had done it that the colour was not even.  I left it for ages, then sprayed it with a silver shimmer spray, was very pleased with the result, but still left it again for a while.


This weekend I used it, as there had been a wee girl born, and I wanted to congratulate her grandmother, who has strong Italian roots, hence the Nonna in the sentiment, which is Italian for grandmother.


I silver embossed the handwritten sentiment onto torn vellum, and secured it by folding if between the layers of the card across a corner.


The baby carriage was cut using silver card,


and  grounded on the snippet of lace across the bottom of the card.

I am linking this to:

Thank you so much for visiting my blog - may your day be blessed
Any comments you may leave are deeply appreciated
All comments are moderated and spam deleted.


Friday, July 22, 2016

More Loo Paper (TP) and Ink

 Welcome.
Yes I am still playing with toilet paper 
(aka loo paper in this corner of the world).
This time I decided to limit the amount of colour I used, which proved difficult.


No matter how much care I took, the ink seemed to splatter out of it's bounds - I eventually managed a reasonable impression, but I guess that is the risk one takes when playing with ink and water.
 

I added a die cut butterfly, with a drop of clear Kindy Glitz on it, to one corner of the embossed paper.


The damp loo paper embossed beautifully with all the layers I used this time - I know it was somewhere up in the 20's for this impression.


The sentiment was stamped and embossed, using the same die ink (Memento Tangelo) and Versamark ink, and clear ep. 
For added interest I layered the white card over a stitched die cut circle, placed it over the corner of the card, and then trimmed it to the edges of the card.


I am pleased with how this card turned out.

I am linking it to:

(Memory Box Stitched Die, S.B Circular Die)


Thank you for visiting my blog - may your day be blessed
Any comments you may leave are deeply appreciated
All comments are moderated and spam deleted.


Thursday, July 21, 2016

Birthday Princess

Welcome.

The card I am sharing today was made for my grand daughters birthday, and it was also my first rocker style card.  It turned out much smaller that I would have liked, and I have thought since of ways to make a larger rocker card.


The image is a digi  by Bits N Bobs called Queen Sweet Cheeks! (I have had the image for some time, and cannot find Bits N Bobs on line at all now)


She was painted in Twinkling H2O's and had beads adhered to the from of her overskirt, and along the hem of the underskirt.  The sentiment was curved, stamped, gold embossed and then trimmed and adhered to the image panel


This photo shows the gleam that the paints give.  The lace also has a metallic thread through it to accent the glimmer and shine on the image.
It was one happy little girl who received this.
The 'rocker' element of the card was a scalloped circle (Cut with a SB Die) in purple card, unfortunately hidden by the lace.

I am linking this to:

(Spellbinders scalloped circle die used)

Thank you for visiting my blog - may your day be blessed
Any comments you may leave are deeply appreciated
All comments are moderated and spam deleted.

Sunday, July 17, 2016

Butterflies, Leaves and Shimmer

Welcome


The elements that inspired me - the black stamped butterflies, the over-stamped background, and the black and white sentiment panel (I reversed the colours).


I also wanted to join in wishing Shery (Owner of STAMPlorations) Happy Born Day
My starting point was this ARTlorations 'stencil used as a stamp' background, which I had made using distress inks. 


 I sprayed it with gold perfect pearls and then stamped around the edges with various stamps using Delicata Gold ink.


I stamped the butterflies onto gold paper and fussy cut them out


Where the inspiration card had two butterflies, I used three to symbolise the three people in Shery's family


The sentiment was white embossed on black card and cut to a banner shape, and layered over another banner cut from the gold paper. 


This final shot shows the detail of the butterfly, the black rhinestone, and the background stamping.  I did not use the black layer that was on the inspiration card, but I did sponge black ink around the edge of the panel.

I am linking this to:


Thank you for visiting my blog - may your day be blessed
Any comments you may leave are deeply appreciated
All comments are moderated and spam deleted.

Saturday, July 16, 2016

Inked, Embossed What????

Welcome

I recently heard of a new technique on Karen Hasheck's blog here, using, of all things, toilet paper.  
It reminded me of a technique that was around some years ago using layered toilet or tissue paper and watered down glue, and then stamping into it.


After trying the technique, I came to the conclusion that American tp is 'different' to New Zealand tp. Karen said she used 12 layers of single layer tp - I separated 2-ply paper into single layers and followed her instructions, but got a smooth surface on both the samples I tried.


The method is to ink up an embossing folder with distress or dye ink,  layer up the tp,  spray both sides with water and then close into the folder and emboss as usual.  I love the results, despite the fact it is not identical to Karen's results.


Once the embossed panel was dry, I wrapped a ribbon around the top and added the sentiment tag and gold butterfly, then mounted it over pale lemon dp, and then onto the base.  Be warned, mounting the panel can be awkward as you have to be careful not to separate the layers... I speak from experience.

I am linking this to:


Thank you for visiting my blog - may your day be blessed.
Any comments you may leave are deeply appreciated.
All comments are moderated and spam deleted.

Thursday, July 14, 2016

Liquid Pearls And Roses

Welcome

I have recently seen several cards made with a background using  liquid pearls smeared onto card.  As I have never had much success with laying liquid pearls and getting a good spherical result, I was pleased to see another way of using them.  This is the result of my first experiment.


I started with a piece of shiny card (saved from a pantyhose packet) and put down some drops of white liquid pearls, and smeared all over the card.


I then dropped on pink and deep pink and smeared them lightly, thought it was a bit bland and added gold and was happy with the outcome.


The resulting sheen and texture is wonderful - to my eyes.  I then layered over some die cut roses and leaves, and covered the die cuts with WoS to continue the sparkle.  
This panel was mounted over ribbon, and dp from a Kaisercraft pad.


I then die cut the edge with S/B Edgibilities dies, and sponged the edge with Fired Brick DI.


On the inside of the card, I ran two strips of washi tape down the edge behind the die cuts. 


The sentiment was gold embossed - I am not sure why this photo shows the dp as pink, not red.

I am linking this to:

(My duvet cover has large flowers in pinks on a striped background)

Thank you for visiting my blog - may your day be blessed
Any comments you may leave are deeply appreciated
All comments are moderated and spam deleted.

Tuesday, July 12, 2016

Sweet Baby Teddy

Welcome

Life has been really busy recently, but I have found some time to craft and now have a slew of cards to finish off and then blog, but in the meantime I am sharing this one that I recently realized I had not blogged.


I love this raggedy teddy from Kiwistamping for baby cards, and with just a few accessories it can make a sweet card, very quickly.


The sentiment stamp is by Montarga, (a N.Z. Company) and was embossed in gold ep.


The teddy was also gold embossed, coloured with chalks and fussy cut before being mounted on foam pads over the ribbons, and a pink rhinestone added to the belly button, just for fun.  
The edges of the card were sponged with Spun Sugar DI, and  three other rhinestones were added to complete this card for the arrival of DH's second Great-grand daughter early this year.

i am linking this to:


Thank you for visiting my blog - may your day be blessed.
Any comments you may leave are deeply appreciated.
All comments are moderated and spam deleted.

Thursday, July 7, 2016

Owl Always Love You

Welcome

 I made this card for Mister D for his birthday.  I started with a piece of loosely watercoloured paper that I had sitting on my desk.


The branch was stamped using an old stamp from Foot Long Stamps. The owl is one from a Unity Stamps grab bag I won, coloured with watercolour pencils and then blended with water.  The eyes were touched with glossy accents for some dimension and interest.


The greeting was cut with a s/b die in gold paper and mounted over another two layers cut from white card.


The image panel was mounted with two strips of gold paper either side, then to personalize the card for DH, I stamped and clear embossed some hearts in the background.


The final details were the rhinestones at either end of the sentiment.

I am linking this to:

(Die used for sentiment is Spellbinders)

Thank you for visiting my blog - may your day be blessed
Any comments you may leave are deeply appreciated
All comments are moderated and spam deleted.

Tuesday, July 5, 2016

Shimmery Rose and Die Cuts

Welcome

Thank you for coming to visit - sorry I have been MIA for a day or so - I had the pleasure of heading out of town with a friend for a couple of days to attend a stamp expo.  My wallet was empty when I returned home, but the credit card was o.k. as I did not take it with me!!

This card was made for an elderly relative earlier in the year, but I did not blog it at the time, I have discovered.


I started with two S/B Romantic Rectangles.  One was sponged with Spun Sugar D.I. while still in the die, and the edges also sponged. The second rectangle was scored just below the top edge, and then they were glued together. 
  

The rose is one of my originals from Kiwistamping, which I love.  it was painted with Twinkling H2O's.


The butterfly is the cut with the Pippi die from Memory Box, cut in pink vellum.  The trail and body were added in pink rhinestones.


The sentiment was gold embossed and some more rhinestones added.

I loved how this turned out, as did the recipient.

I am linking this to:
A flower, and felicitations.

Thank you for visiting my blog - may your day be blessed
Any comments you may leave are deeply appreciated
All comments are moderated and spam deleted.


Friday, July 1, 2016

Colourful Grunge

Welcome


My starting point for this card was Lozzy's Dark Grunge paper in blue, over which I laid some stripes of card in a rainbow sequence, and then embossed. 


I then cut circles from the same card snippets, stamped the letters on them from an unknown alpha set, set the die back over the circles and sponged some ink onto them to grunge them a bit more.


The (Kiwistamping) stamp was masked before inking to get just the lower part of the sentiment, which was coloured in the same rainbow sequence and then had glossy accents added for some dimension.  The panel was then trimmed, sponged with black ink and adhered.

As I am out of town when this is due, and  this is a scheduled post, I am not at this point linking with any challenges.

Thank you for visiting my blog - may your day be blessed
Any comments you may leave are deeply appreciated
All comments are moderated and spam deleted.