Pages

Friday, September 29, 2017

In Flight

Welcome

This is another commissioned card, and again a name was requested.  This time the recipient is in their early 20's, and I must admit I was scratching my head as to what to create.


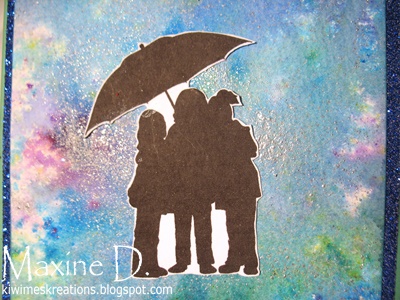
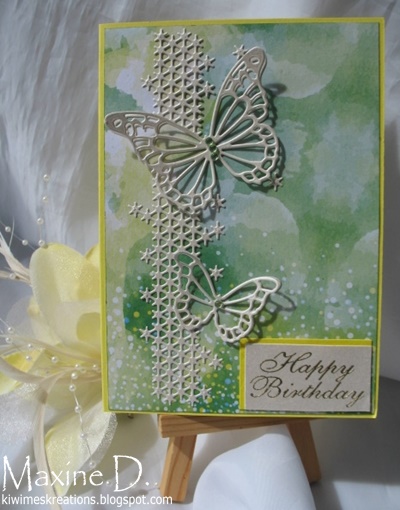
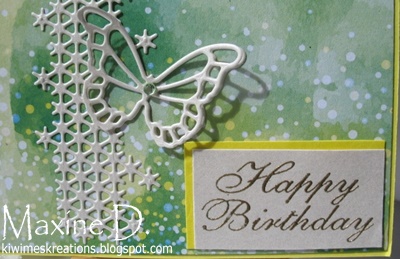
Having decided to feature the NBUS die In Flight by Spellbinders I then made the background using a hand cut template, (stencil)  and Memento Summer Sky and Danube Blue  inks to sponge the clouds with.

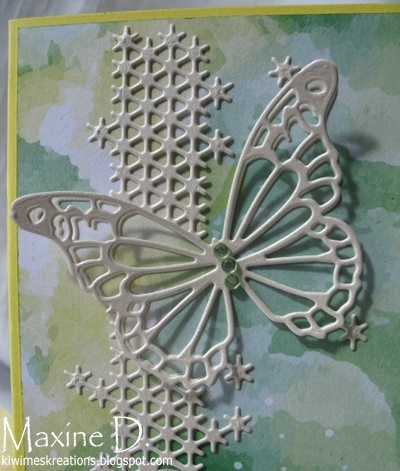
 I cut and embossed the bird in a heavy silver card, 


The detail in the bird's plumage is fabulous


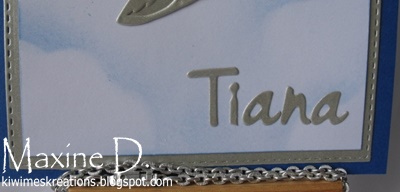
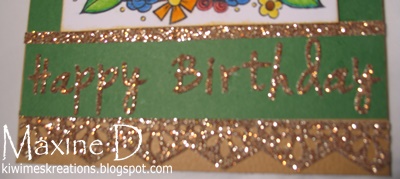
The name was also die cut from the same card - I used washi tape to line the letters up on, 
  The tape removes easily and the result looks good.

.
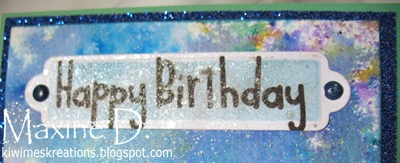
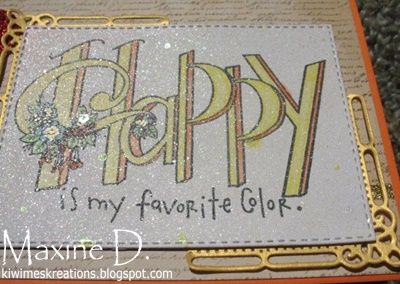
The  sentiment was silver embossed to maintain the colour scheme.

After the main panel was assembled, I then mounted it over a matching stitched rectangle of the silver card, and then onto the the blue base.


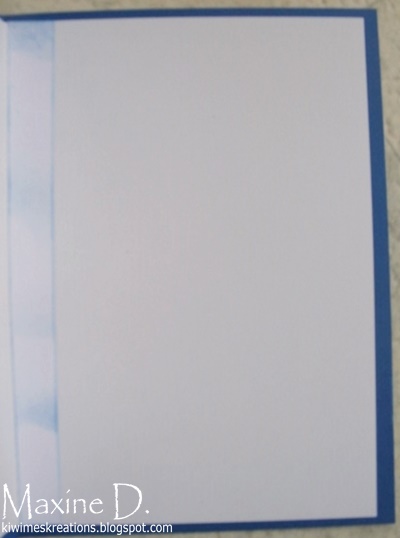
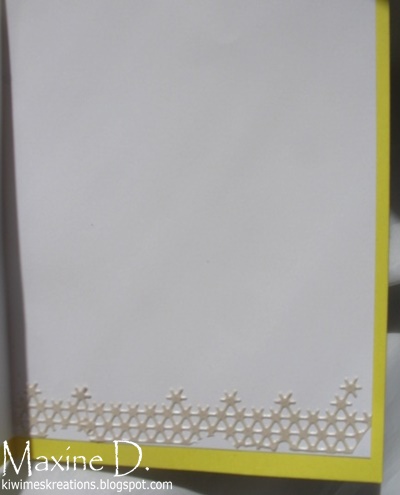
The inside was finished with a strip of the sponged card.

I am linking this to:
Our Badge

                                          Seize The Birthday Challenge - Optional twist not used


Wednesday, September 27, 2017

Giggling Girls

Welcome

Thank you for calling back to visit.

I made this card for a commission, and the customer wanted names on the cards I was making. this card is for a 15 yr old girl.


I started by trying out my brushos again, and this time I loved the results I got.  I also sprinkled on some silver embossing powder before the watercolour paper was dry, and heated it to make the powder melt - it gives a gorgeous effect once it is all dry.


I have a new Alpha set from Couture Creations that gives both upper and lower case letters, so I cut the name of the recipient out of a glitter card, and mounted it over the base, using washi tape to give me a straight line to place the letters on.


The greeting is a digi from Beccy's Place  - I am not sure if it was a freebie, or in a set that has been discontinued, but I cannot find it on the site.  I die cut it with a S/B label, sponged it with pale blue ink and sprayed it with  silver shimmer spray.  The brads were silver, so I coated them with Versamark ink and dipped them into blue embossing powder and heated them.  I love colouring them that way.


The silhouette is also a digi from Beccy's Place from a set called Splish Splash and again it is the first time I have used it - I sized it to suit the card, printed it and then fussy cut it.  It reminds me of a group of young teens, reluctant to part, and giggling together as only they can do.

The card was finished by mounting the panel over a panel of the blues glitter card, and then an aqua toned base.  The customer loved the card.

I am linking this to:


Monday, September 25, 2017

Starry Butterflies

Welcome

Thank you for taking the time to visit my blog again - I so appreciate your visits

I purchased this M/B Silver Springs Butterfly die recently and decided to break it out over the weekend... Just in time for Darnell's NBUS Challenge.


I cut it out using a pearlised paper - it cuts beautifully!!  I then cut it a second  time and trimmed out the butterflies and layered them.  They were mounted over some new patterned paper  from American Crafts called Farmers Market.


The sentiment was gold embossed on a snippet of white card and layered over a scrap of lemon card, slightly offset to add interest to it.


To complete the inside of the card I took some trimmings from the second die cut and glued them across the bottom of the liner - you can just see the pearlised look of the paper in this view.


The butterflies were finished with a few green rhinestones after the paper was mounted onto the lemon card base.

I am linking this to:


Sunday, September 24, 2017

Sir Steampunk

Welcome

Firstly I extend a welcome to two new followers - Karen Letchworth  and Liv Frische, who unfortunately appears not to have a blog.  

This was made with a steampunk fan in mind!   
I bought the stamps while in Australia - they are by an Aussie firm, Darkroom Door.  
Their stamps are top quality, with wonderful detail and they stamp well.


I started by stamping the images in Memento Graphite Black ink, using the Misti and masking the images as I went to get the dimension, and although I had to stamp multiple times, the detail was retained .


The cogs were sitting on my desk, so I coated them with Copper Inka Gold paint and added them to the corner


I then embossed the word TIME (from the same stamp set) in various spots around the card.  
The final detail was to doodle the wobbly lines around the edge.


To finish I stamped the (?) Steam engine that came in the set on the left inside of the card.

I am linking this to:


Thursday, September 21, 2017

Pink and Brown Quatro Fold

Welcome

I recently took part in a card swap, where the requirements were to make a Quatro Fold card, and to use the colours pink and brown.


I started with a base of off white, and constructed the fold, which is reasonably easy, as long as one does the measurements correctly.... (Don't ask me how I know!)


I decorated the outside panels starting with a  snippet of fairly neutral paper in a sandy colour in opposite corners, and a freebie from Beccy's Place on one


And a sentiment stamped in Espresso ink in the other


In the other opposing corners I used a soft pink snippet of paper and stamped, coloured and fussy cut the a butterfly from Hero Arts (now  discontinued) onto a snippet of white card. -  I layered a fussy cut one over another image stamped directly onto the paper


The flowers are from Kiwistamping, (again stamped on a snippet) coloured with pencils, and they  have micro beads glued the centres.  Both the flowers and butterflies had several coats of  WoS.


I decorated the inside with a fussy cut, slightly smaller black and white copy of the birdhouse, 
All corners were rounded, and all edges sponged with Espresso ink.

I am linking this to:

(Both stamps are so old five years would be the minimum for the butterfly, 
and approx 10 years for the flowers)


Monday, September 18, 2017

Begonia Birthday

Welcome

When I think back to how I made this card, which is very typical of my process, I am far from organised - I do not select my background paper and then decide what colours to colour the image...


I started with the image, a (Flourishes) Begonia, and coloured that with chalks...

Then came the background, and I came across this piece that was in my 'stash', I am sure it was given to me by a friend who was experimenting with marbling acrylic paints at the time.  I gave it a quick spray with a silver glimmer mist , then decided to use a doily die cut for the flower to sit on, which I cut from a Stampin' Up Christmas pad.


The sentiment I have had for years, and is a N.Z. made one, was embossed in silver, and accented with the lace.


The finishing touches were some silver sequins.

I am linking this to:


Friday, September 15, 2017

Happy!!

Welcome

I started the feature panel (a fabulous Tammy Tutterow Stamp) as a colouring project for the Daily Marker Challenge, and couldn't help but mount it up as soon as it was finished.


I coloured the panel using my polychromo pencils,


then sprayed it with a lemon and a silver glimmer mist, and red perfect pearls..


which gave it a lovely sheen. The panel was die cut using M/B stitched rectangles, and layered over two corners from the S/B Marvellous Squares


The balloons were punched from glitter paper, the strings made using metallic sewing thread, and caught under the bow on the gold ribbon.

I am linking this to:


Wednesday, September 13, 2017

Peaceful Peony Sympathy

Welcome

I love the way this card came together as a soft and gentle expression of sympathy


My starting point was a piece of paper that was on my desk - it came as a gift is some stamps I had purchased, a loooooooooong time ago.....
This was paired with stamps from the Sweet 'n' Sassy stamp set  Peaceful Peonies


I stamped the sentiment directly on the paper in Bottle green ink


Stamped (in bottle ink), coloured (with Prisma color pencils) and fussy cut the flower from the set and popped it up in the corner, and added some micro beads to the centre for some texture.  Rhinestones were added to some of the highlighted stars on the paper


The inside was finished with a scripture from an ODBD set, and the peony  image repeated.


Monday, September 11, 2017

Flowers, Glitter and a Greeting

Welcome

This started as a project to colour while I was looking after a grandson the other day, and to also enter it in the Daily Marker Challenge.  I often do the colouring, but don't always get the projects finished.!


I coloured the image (Flower Swag 3 by Tammy Tutterow) using crayola markers - they are new, and very juicy - so much so that when I added the second green to the leaves, it re-activated the first and blended it - the flowers were also very bright.  I dabbed the blue as I coloured, it was so dark.

(the original)


I still was not that happy with it, so next day I tried spritzing a dried sample, liked the results, so held my breath and spritzed the image, dabbed with a paper towel, repeated, and was really happy with the result!!


The end was still fairly bright, but somewhat muted and 'softer' in appearance.  What is not visible here is that there is a wee bit of a 'watercoloured' look to it, and the brush strokes are now blended in.

I cut the image panel into an elongated semicircle, and sponged it with Delicata Golden Glitz ink to tie in with the tiny dots that I coloured with a Signo Gold Pen.
I then mounted it onto the green layer, with a narrow strip of the glitter card top and bottom of that layer 


 I die cut the letters for the greeting from a Couture Creations set from the same glitter cardstock and added the  Spellbinders Border-abilities  decorative one at the base of the card.


I decorated the base of the inside with the same border die cut that I used on the outside - again thanks to the sparkle it is not a clear photo.


Unfortunately I didn't realise the last photos were so blurred - blame the glitter card.  The card has now been posted so I cannot re-do the photos. 

I am linking this to: